Top Tips for Eyeliner Flicks!
May 15 | 2019
3 Min Read

Hello!
I'm going to go through a quick how to on how to apply eyeliner!
People tend to be a little bit afraid of liner but it’s a great way to add definition and can really glam up your makeup look!
Flicks are not the be all and end all however, you can still get definition to your lash line by having a darker colour behind it. If you don’t want to use a gel (they are a little more difficult to use) you can also use a Kohl Pencil along your lash line.
If you're going to go for a Kohl pencil something like Charlotte Tilbury bedroom black is really easy to apply and gives a gorgeous smokey effect.
But if you do want to go for the flick here’s my 4 step guide;
* Know that you can always sketch out your colour first with a bit of shadow or kohl pencil if you want and this will work as a stencil.
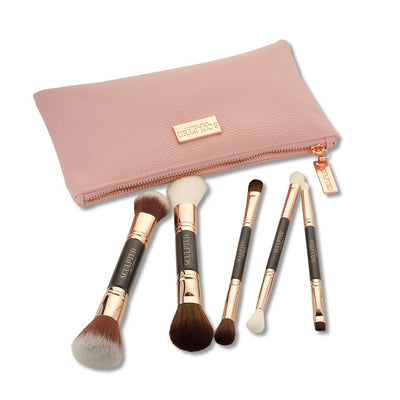
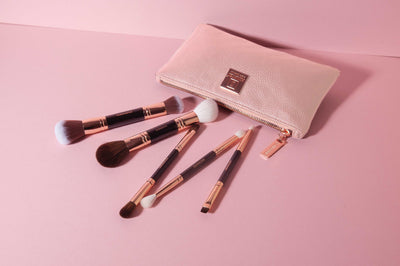
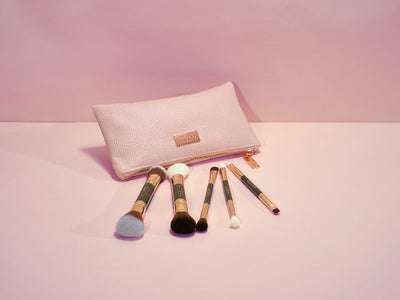
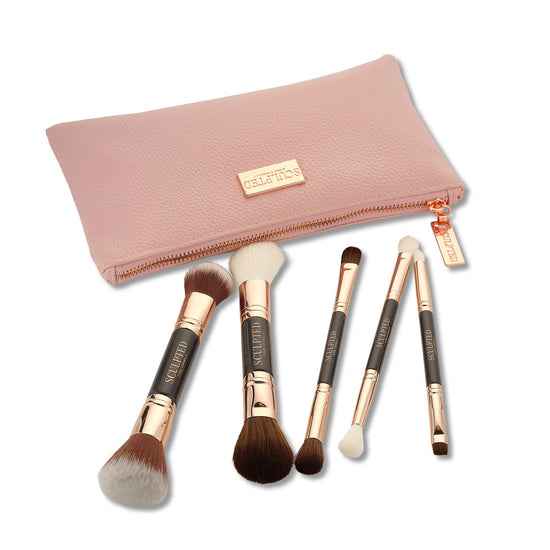
Regardless if you do this or go straight for it it is so important that you have a really good angle brush. This is absolutely key when you are using a gel. You want the brush to be really thin so you can keep control of how thick your liner is. I’m using the angle brush from Sculpted - naturally but do whatever one is comfortable for you!
Step 1: Start lining your lash line from the inside to the outer lash, making it thinner to thicker and having no gaps between this and your actual lash line itself.
Sculpted Angle can be found here


Step 2: Next up draw your flick. Make sure your brows are done first and your flick is angling up towards the edge of your brow. Start at your last lash, it’s really important not to start at the end of your eye as everyone’s eye shape is different, so go back up to your last lash to make sure your line is going out and not cutting into the eyebrow - so it’s going parallel to the edge of the brow.
Step 3: Then you want to turn your brush around so you’re always working from the tip of the brush, draw back in from that line to the base flick on the lid and fill in the gaps. I’m using the inglot 77, it’s one of the best but if you’re practising it’s difficult to get off so maybe go for something softer. Something like the maybelline black gel liner is little easier on the eye!

Step 4: Clean up - You can do this using your brush and concealer. This just tapers out the flick and thins it for you. I’m using the definer from the Sculpted set.

For cleaning up you can also use Duraline or BabyOil as well as concealer.
Things to note;
Inglot Duraline is great as it can wake up your liner if it dries up in the pot as well as fixing any fuzzy edges!
Concealer is great because it will actually highlight the line for you or you can use babyoil if you’re actually looking to remove any excess liner ie if it’s way too thick and hi amount of tapering will save you!!

And there you have it, achieving the above look can be done in 4 easy steps!
Always remember to breathe when you’re doing your liner I’m constantly reminding my students to :)
l hope you found this helpful,
Love Aimee xx
