Get The Look - Athlone Masterclass Edit
May 22 | 2019
5 Min Read
Our second Masterclass of this quarter was in Athlone on Sunday and can we just say a huge thank you to everyone who came, such a lovely group of ladies and we really enjoyed it!!
In this edit we're going to give a run through on how to achieve Pam's makeup look!
Base
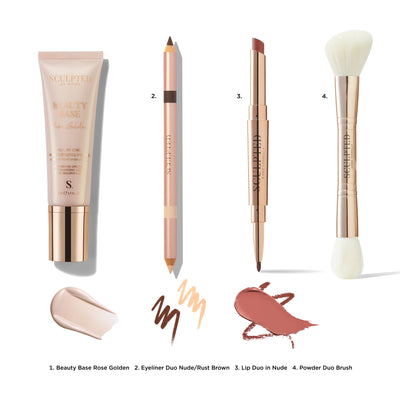
I used a Probiotic Serum on Pam's skin followed by Beauty Base to prep the skin and create a base for makeup. Beauty Base also includes Hyaluronic Acid for moisturising, SPF 30 for protection and it leaves the skin with a gorgeous golden glow. I then used a little pea sized amount of Benefit Porefessional on the t-zone and on any shiny areas. This is a great primer for occasion or event days as it fills in pores and evens out skin tone but you really only need a tiny amount.
Brows
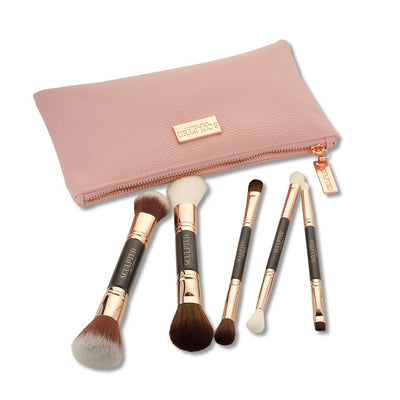
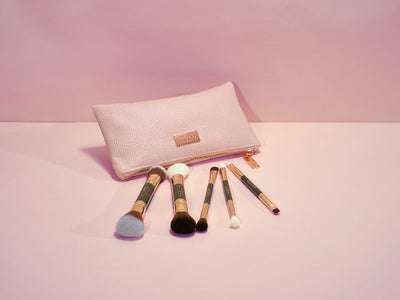
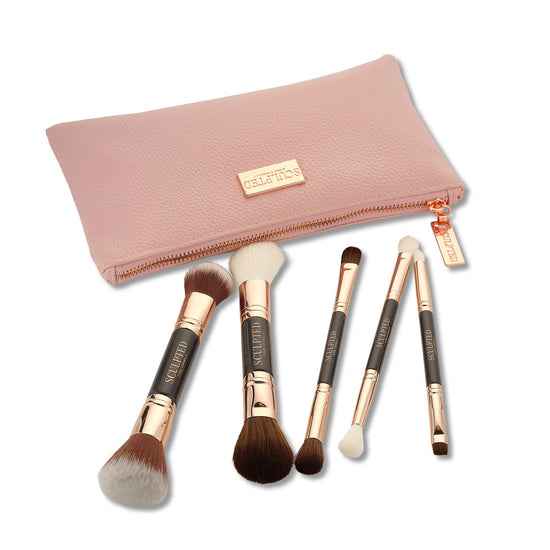
On Pam's brows I used Benefit KaBrow Gel and The Angle Brush from Sculpted. Brush your spoolie the same way as the hair grows and then bring the product through the brow in light strokes starting at the first hair. To thicken the look of the brow apply product on top of the brow too, not just underneath! Another top tip for thickening the brow is to use shadow along with gel, and at the end give another run through with your spoolie!
Eyes
To prime the eyes I used MAC Painterly. This colour preps the lid and allows your shadow to stay on for longer, with less fallout. A lot of people at this masterclass were asking if they could just use your foundation as primer but this will only crease your shadow, I'll always have an eye primer in my makeup kit!
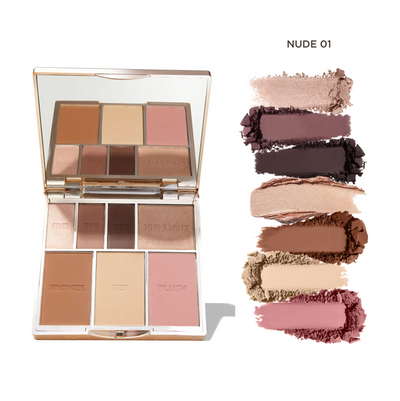
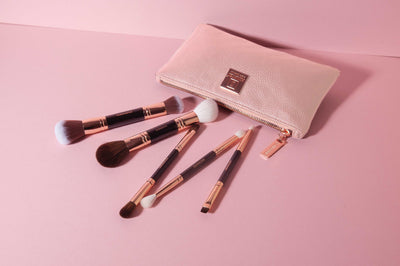
I then used our big fluffy blending brush to apply Medium Bronze to the lid and up to the brow bone, leaving a natural gap between that and your brow bone! Bronzers are great to double up with because of the warmth in them and they suit all eye colours.
I popped a little Tan Pigment onto the flat part of the lid, this is a really fine pigment and gives a gorgeous shimmery lid. To smoke up the edges I used a small definer brush and popped it into the outer part of the eye, using MAC Brown Down. Smokey eyes should never go above the crease, and just blend it out using your fluffier blending brush if it's a little too harsh. To brighten the eye I used a nude liner on the waterline. One of my favourites is the Charlotte Tilbury but a great dupe for this is the Essence Shade 6 Silky Nude!
I used to a little Golden Glow Powder Highlight as eyeshadow here too, popping it on the centre of the lid using my ring finger to brighten up the eye, a pop in the tear duct and on the brow bone!
The Flick! One of the scariest makeup applications!! I'm joking - this is actually so easy once you practice and get the hang of this. I used Inglot 77 gel liner and the Angle brush to apply this. This is an amazing long lasting gel liner, when it's on, it's on!! My advice is to start 3/4s of the way into the eye, right into the lash line, and create a very thin line to begin, you can always add to this but it's very hard to take away from it if you go too high! At the last lash turn the brush around and create your flick and draw back to match your line! We actually have a full blog dedicated to the Flick which you can find here!
I popped a couple of the Penney's individual lashes at the very edge of the eye using duo glue and voila - the eye look is complete! Add a slick of They're Real Mascara and you're good to go!
Face
Staring with concealer, I used the Catrice Liquid Camouflage concealer underneath the eye. This is a very quick drying concealer so make sure to blend with your finger or brush as soon as you apply it. And it's an absolute bargain concealer too.
Due to popular demand in Athlone I used the NARS Longwear Radiant Foundation on the skin. This is a lovely foundation that gives a medium to full coverage finish and yet leaves the skin with a lovely dewy finish!
I set the face with Charlotte Tilbury Genius Magic Powder, which gives a lovely veil to the skin but it quite strong scented!
Contour
I used Medium Bronze on Pam following the bone starting at the ear and working my way along the bone, blending all the time. You can layer this up for the look that you want! Bring it around the hairline and down the sides of the nose.
Using my ring finger I applied Champagne Cream along the tips of the cheekbones and around the temple, a little down the centre of the nose and along the cupids bow. It gives the skin such a fresh, healthy glow!
To really make the Pam's highlight glow I used Golden Glow Powder highlight along the same areas as the cream contour using the highlight end of the Double Ended Brush and added Sunset Sheen Blush onto the apples of the cheeks, which is a gorgeous Peachy Pink blush with an added glow.

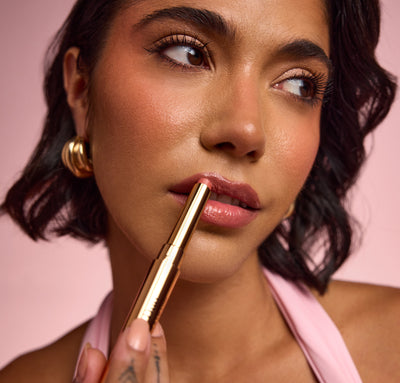
On the lips I used Buff from the Nude Edition Lip Quad. Sketch just under the lips and follow the natural white line that we all have to maximise the lips! I then added a sweep of MAC Teddy Lipstick, which is matte in texture!


You can check out our next locations for Masterclasses here!!
Hope you enjoyed the edit!!
Lots of love,
Aimee xx
