


Get The Look - Image Beauty Festival
May 31 | 2019
3 Min Read

Hello!
Last week I attended the Image Beauty Festival! This was such a lovely weekend event, so well done to the Image Team on running a fab show!
Today I'm going to run through a very quick and simple makeup look that I wore on day 2 of the Image event. Even though I wasn't feeling the best, popping a few key products on can really make you feel a lot better when you're under the weather!
Prep
I popped some face tan drops on the night before with my buffer brush to give a nice bronzed glow to my skin. These are really hydrating so my skin didn't feel tight or anything afterwards! I then prepped my skin with Beauty Base to give myself a good radiant glow!

Base
I wore the NARS Longwear Radiant foundation, which I have to say is just brilliant when you need something that still has a nice radiance to it, but actually has a lovely buildable coverage that lasts all day too. To help the longevity of the foundation I set my face with the Laura Mercier Translucent Powder. You only need a dusting of this on the skin. It gives the skin almost a blurred effect and is really light so you don't feel caked wearing this one like some other powders.


Contour
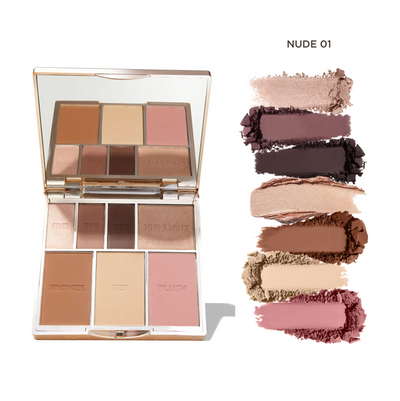
I used the Custom Gold Edition Palette for my contour using Medium Bronze and applying to the hollow of the cheekbones, beginning where the bone meets your ear and working along the cheekbone! Follow the bone and blend your bronze in a slightly circular motion using your double ended brush! I popped a little around my hairline and down the sides of my nose, blending all the time so there are no harsh lines!

Using my ring finger I popped Champagne Cream Highlight on the tips of my cheekbones and around my temple. Cream highlight works best when you apply with the warmth of your hand and just tap it along the tops of cheekbones, down the centre of the nose and your cupids bow.
Following this I used the Golden Glow highlight in the exact same areas as the cream highlight using the opposite end of my double ended brush! This really makes your highlight pop!
Using my Setter Brush and a big smile I applied Sunset Sheen blush onto the apples of my cheeks, and worked it back towards my contour. Blush really finishes off your makeup look and gives a really youthful and lifted appearance to the face!


Eyes
I used the Sculpted Palette again on my eyes, using Medium Bronze and the Blender Brush to apply all over the lid - but not going right up to the brow! Leave a gap at the brow bone. Bronze works as an eyeshadow on everyone as it's warm toned and of course it's a great time saver too! I brought the bronze underneath my eye to give a slightly smokey effect. I then used the Golden Glow highlighter from the palette to apply to the brow bone and a little onto my tear duct to really open up the eye!


For that real 'I'm awake' look I used Charlotte Tilbury Eye Cheat Nude liner on my water line! It's a lifesaver and I'm a big fan of the actual nude tone of the liner as it's not too white or yellow!
And to smoke up the eye slightly I used MAC Brown Down shadow as my liner using the angle brush to apply it. This is the handiest tip I can give anyone - If you're terrified of liquid liner or the flick this is a great way to add slight definition and you can blend it out using the definer brush!
A little They're Real Mascara from Benefit did the trick on my lashes, it's one of the best mascaras for giving great length, but it is really hard to get off so be prepared for that!!


Lips
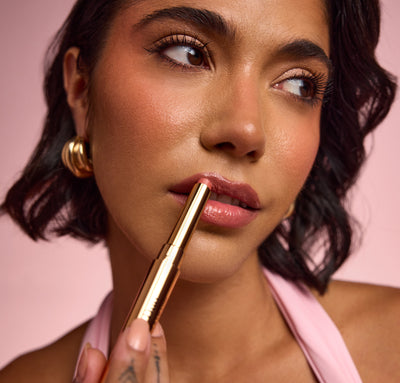
I lined my lips with Bay from Pink Edition, following the natural white line we all have to maximise my lips and slightly filled in my lips with the liner. I used a softer pink lipstick on top and Dealz Nice n Nude Lipgloss to finish off the look!

Hope you enjoyed the edit!!
Lots of love,
Aimee xx


